Every summer, my kitchen counter tells the same story.
A giant watermelon. A sharp knife. A bowl full of cold, sweet red flesh. And then — a pile of thick green and white peels the size of a small mountain, headed straight for the trash bin.
For years, I didn’t think twice about it. Watermelon peels are just waste, right? You eat the fruit, you toss the rind. That’s how it works.
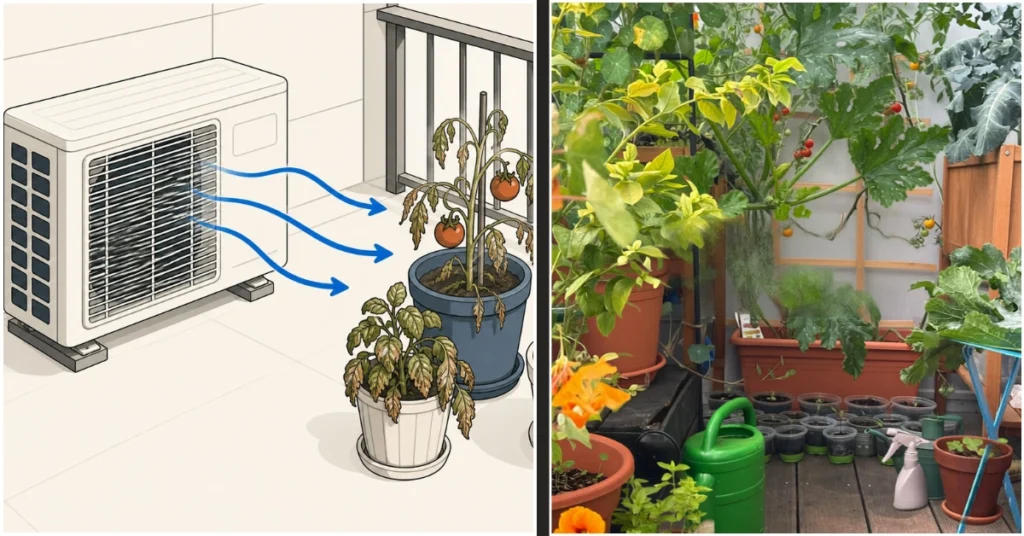
Until one afternoon, I was running late on watering my balcony tomatoes and grabbed a chunk of leftover watermelon rind to roughly chop into the pot — not for any scientific reason, just because I was curious and slightly lazy. Two weeks later, those tomato plants looked noticeably different. Darker leaves. More vigorous growth. Three new flower clusters that hadn’t been there before.
I started paying attention.
That accidental experiment sent me down a rabbit hole of research, trial and error, and a lot of very satisfying moments standing in my kitchen thinking — why did nobody tell me this sooner?
Here’s everything I learned about turning watermelon peels into powerful, free plant food — and why your garden might be missing out on one of the best natural fertilizers sitting right in your trash.
The Real Problem: We’re Throwing Away a Nutrient Goldmine
Let’s start with why this actually matters — because it goes well beyond “reduce kitchen waste,” which is a fine goal but not always motivating on its own.
Watermelon peel is not just water and fiber. It contains a surprisingly rich mix of nutrients that plants genuinely need.
Potassium is the big one. Watermelon rind is naturally high in potassium — one of the three primary macronutrients plants require (alongside nitrogen and phosphorus). Potassium supports root development, helps plants regulate water uptake, improves disease resistance, and is directly responsible for fruit quality and sugar development in crops like tomatoes, peppers, cucumbers, and yes, melons. When your tomatoes crack or your pepper plant drops flowers, potassium deficiency is often the culprit.
Magnesium in the white part of the rind helps plants produce chlorophyll — the green pigment responsible for photosynthesis. Without enough magnesium, leaves turn yellow between the veins (a condition called interveinal chlorosis) and the plant slowly loses its ability to produce energy. A lot of urban gardeners throw magnesium supplements at this problem without realising their kitchen scraps could solve it for free.
Calcium in the rind supports cell wall development in plants. Blossom end rot — that dark, sunken patch on the bottom of tomatoes and peppers that makes gardeners want to give up — is almost always a calcium uptake issue. Watermelon rind contains calcium. Your rotting tomatoes could have been saved, in part, by the watermelon peel you tossed last week.
Citrulline, an amino acid found heavily in watermelon rind, has been studied for its role in nitrogen metabolism. While its direct impact on plant growth is still being researched, early evidence suggests it supports microbial activity in soil — and healthy soil microbes are the foundation of nutrient uptake in any garden.
Beyond the nutrient profile, watermelon rind is roughly 92% water. When it breaks down in soil, it slowly releases that moisture — a gentle, natural irrigation effect that’s particularly valuable in container gardening where soil dries out fast.
We’ve been throwing all of this away. Every summer. Year after year.
Why Store-Bought Fertilizers Are Not the Answer
Before I get into the methods, I want to address the obvious question: why not just buy a balanced liquid fertilizer and be done with it?
You can. I’m not saying don’t use fertilizers. But here’s what I noticed once I started paying attention to what I was buying.
Most synthetic fertilizers deliver nutrients in isolated, salt-based forms that plants can absorb quickly — but they do nothing for your soil biology. In fact, heavy synthetic fertilizer use over time can degrade the microbial ecosystem in your soil, making your plants progressively more dependent on those fertilizers just to survive. You end up locked in a cycle: buy fertilizer, apply fertilizer, wonder why the soil feels dead, buy more fertilizer.
Organic fertilizers are better but expensive. A decent bottle of seaweed extract or fish emulsion isn’t cheap, and if you’re growing on a balcony in an urban apartment, those costs add up fast.
Watermelon rind costs you nothing. You were going to throw it away. It feeds your soil biology, not just your plants. It improves soil structure over time. And there’s something deeply satisfying about closing the loop — turning what came out of the earth back into food for the earth.
It won’t replace every fertilizer your garden needs. But it’s a genuinely powerful, free supplement that most gardeners completely overlook.
Method 1: The Direct Burial Method (Simplest, Most Effective)
This is the method that started everything for me, and it remains my favorite for container gardens.
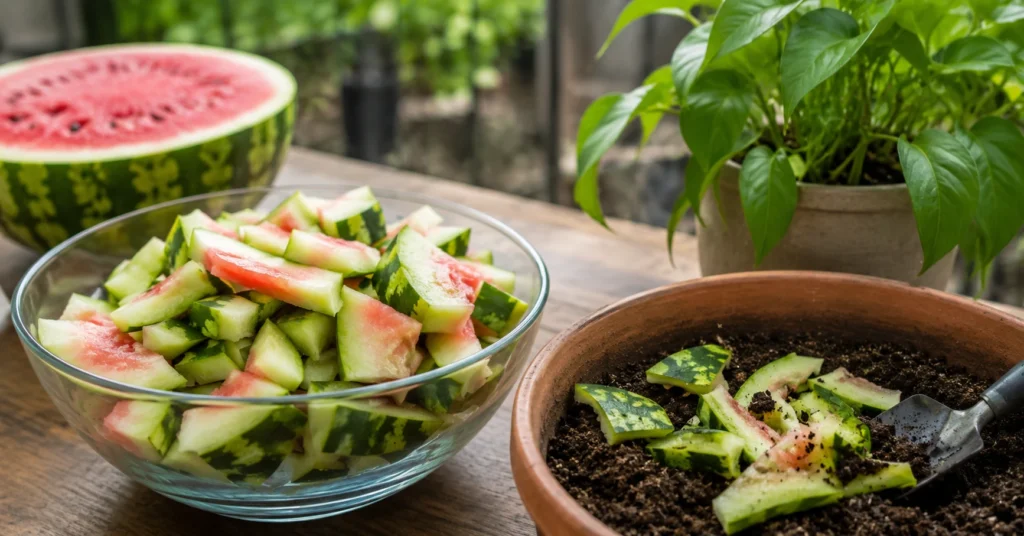
What you do: Chop watermelon rind into rough 2–3 cm pieces. Dig a small hole about 5–7 cm deep in the soil near (but not directly against) the base of your plant. Drop in the chopped rind. Cover with soil. That’s it.
What happens: Over the next 2–3 weeks, the rind decomposes directly in the root zone. Bacteria and fungi in the soil break it down into plant-available nutrients — potassium, calcium, magnesium — released slowly and steadily right where the roots can access them. The water content of the rind also means the surrounding soil stays moist longer, reducing how often you need to water.
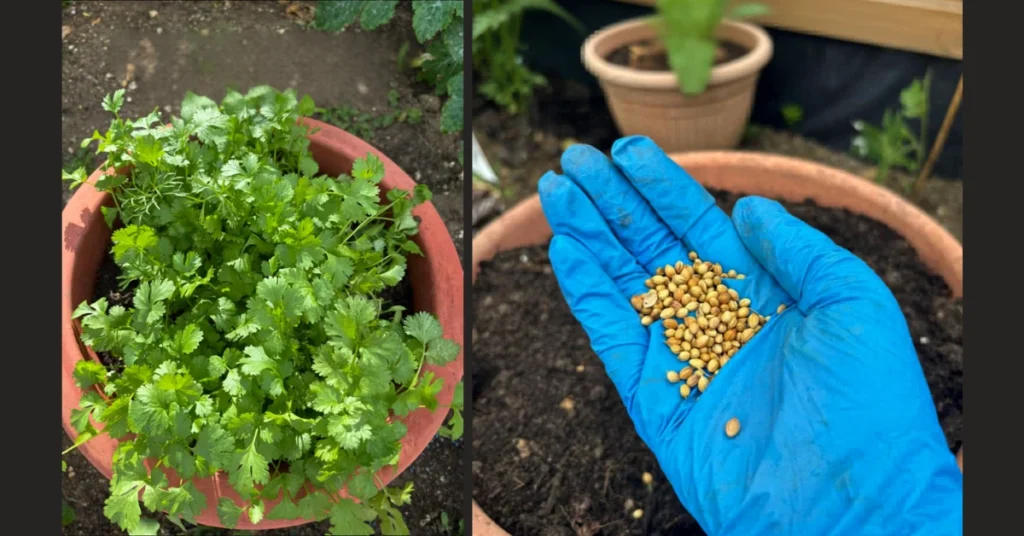
Best for: Tomatoes, peppers, cucumbers, eggplants, beans — any fruiting or flowering plant with high potassium demand. Also works brilliantly for established herbs like basil and coriander.
One caution: Don’t use this method in very small pots (under 6 inches in diameter) or for seedlings. The decomposition process generates a little heat and can temporarily acidify the immediate soil — not a problem for established plants in decent-sized containers, but potentially stressful for tiny seedlings or very cramped root systems.
Pro tip: In summer, the rind decomposes in about 10–14 days in warm soil. In cooler weather, it takes 3–4 weeks. Either way, by the time it’s fully broken down, your plant will have been feeding on it consistently through that whole period.
Method 2: Watermelon Peel Liquid Fertilizer (Fast, Potent, Scalable)
If you have multiple plants or want a fertilizer you can apply consistently across your whole garden, making a liquid fertilizer from watermelon peel is the move.
What you need: Watermelon peels (any amount), a large jar or container with a lid, water, and patience for about 48–72 hours.
How to make it:
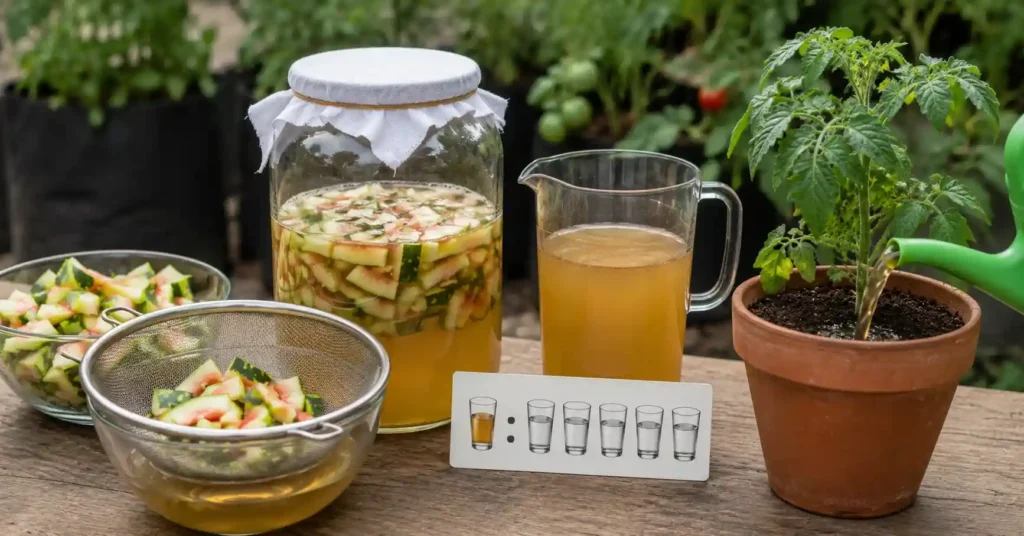
- Chop the watermelon peels into small pieces and fill a jar or bucket about halfway.
- Cover with water — preferably rainwater or water that’s been left out overnight (to off-gas any chlorine, which can inhibit microbial activity).
- Let the mixture sit at room temperature, loosely covered, for 48–72 hours. You’ll notice it start to smell slightly fermented — this is normal and actually a good sign. Fermentation is accelerating the breakdown of nutrients into plant-available form.
- Strain out the solids (add those directly to your compost or bury them in a pot).
- Dilute the liquid 1:5 with water (one part liquid to five parts water). The undiluted version is too concentrated for direct application — it can burn roots.
- Apply to the soil around your plants, not on the leaves.
How often: Once a week during the active growing season (spring and summer). Every two weeks in slower growing periods.
What to expect: Within 5–7 days of the first application, most gardeners notice improved leaf color and more vigorous new growth. Flowering plants tend to show the fastest response because of the potassium boost.
Storage: The diluted fertilizer doesn’t store well — use it within 24 hours of diluting. The undiluted concentrate can be kept in the fridge for up to a week in a sealed jar. After that, re-ferment or discard.
Method 3: Watermelon Peel Compost Booster
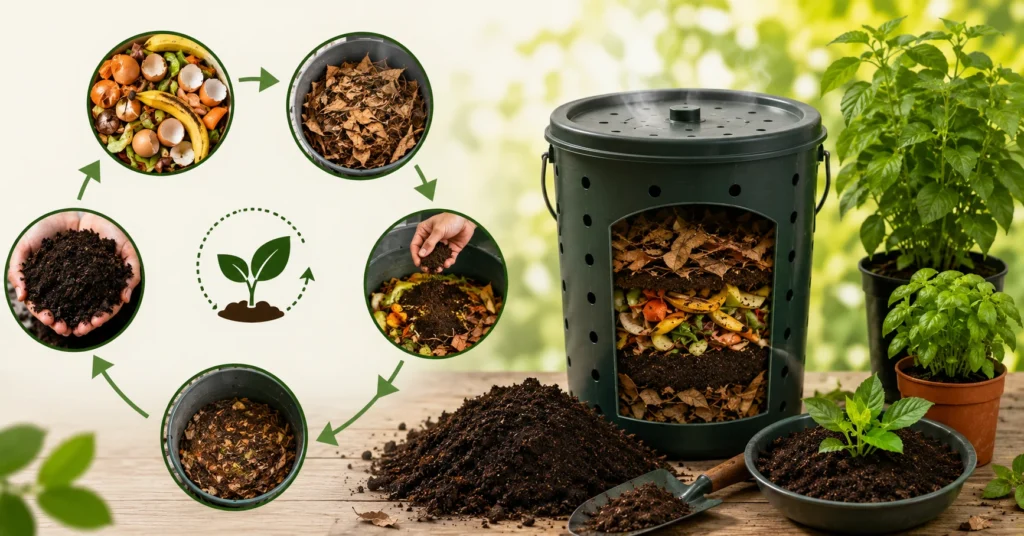
If you’re already composting — and if you’re an urban gardener reading a blog like this, there’s a good chance you are — watermelon rind is one of the best things you can add to your pile or bin.
The high water content of watermelon rind keeps your compost moist (a common problem in dry climates is compost drying out and stalling). The sugars in the rind feed compost microbes, accelerating decomposition across the whole pile. The nutrient profile of the rind enriches the final compost with potassium and calcium that improve finished compost quality.
The right way to add it: Chop the rind before adding it. The larger the pieces, the longer they take to break down. Small pieces — 2–3 cm — break down in a week or two. Whole rind sections can take months. Layer the chopped rind with dry material (dried leaves, torn cardboard, dry soil) to balance the moisture and avoid the pile going slimy.
One common mistake: People add whole watermelon rinds to a small compost bin and then complain the compost is too wet and smells bad. The rind releases a lot of water as it breaks down. Chop it up and balance it with dry carbon materials — problem solved.
If you want to make sure your overall pile stays balanced, efficient, and completely smell-free, check out my step-by-step blueprint on how to turn kitchen waste into rich, odor-free compost in just 20 days at home.
Method 4: Watermelon Peel Mulch (For Ground Gardens and Large Containers)
This one is less commonly talked about but genuinely useful if you have a ground garden or very large containers.
What you do: Roughly chop or slice watermelon rinds and lay them on the soil surface around your plants — like a mulch layer. Don’t bury them; just lay them on top.
What happens: They slowly decompose on the surface, releasing nutrients into the topsoil every time it rains or you water. They also retain moisture in the soil below, suppress some weed growth, and as they break down, improve soil organic matter over time.
Best for: Large containers, raised beds, kitchen gardens with direct soil access. Not ideal for very small balcony pots — it can look untidy and invite fruit flies in warm weather.
Managing fruit flies: This is the main downside of surface mulching with any food waste. To minimize flies, cover the rind pieces lightly with a thin layer of dry soil or compost. This reduces the smell that attracts flies while still allowing decomposition to happen.
Method 5: Watermelon Peel Powder (For Long-Term Storage)
This is the most effort-intensive method but the most useful if you want to stockpile nutrients during watermelon season to use all year round.
How to make it:
- Wash the watermelon peels thoroughly.
- Cut into thin slices and sun-dry them for 2–3 days until completely dry and crisp. In humid climates, use an oven on the lowest possible setting with the door slightly ajar.
- Once completely dry, blend or grind into a coarse powder.
- Store in an airtight glass jar in a cool, dry place. It keeps for 6–8 months easily.
How to use it: Mix 1–2 tablespoons of the powder into your potting mix when repotting, or sprinkle on the soil surface and water in. You can also dissolve it in warm water (1 tablespoon per litre) and use it as a liquid feed.
Why bother: Watermelon is a summer fruit. If you make and store the powder during the season, you have a free, potassium-rich fertilizer supplement available through autumn and winter — exactly the period when garden centre fertilizer prices tend to spike before spring.
What Plants Benefit Most?
Not all plants respond equally. Here’s a practical priority list based on my experience and the nutrient profile of watermelon rind:
High priority — use watermelon rind fertilizer regularly:
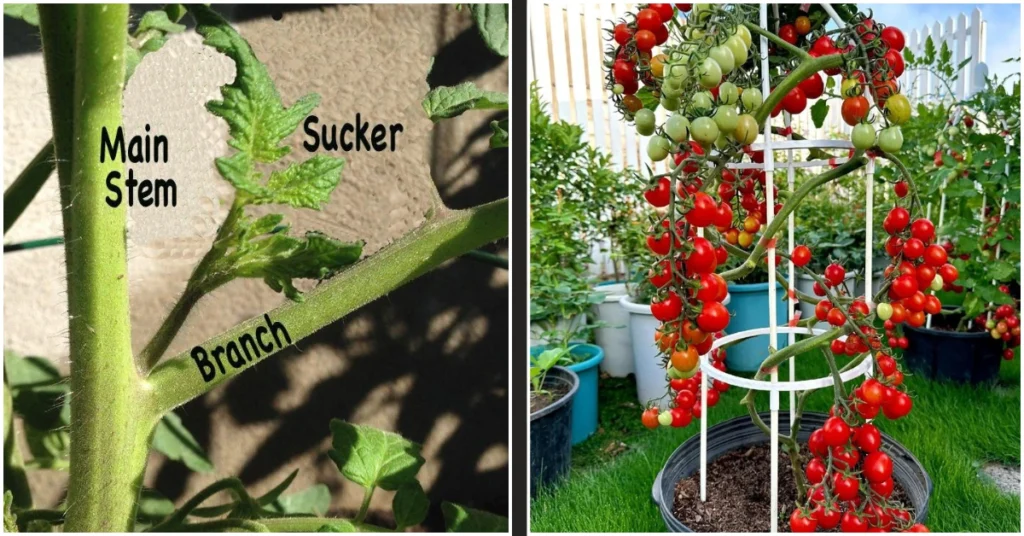
- Tomatoes (potassium prevents blossom end rot, improves fruit sweetness)
- Peppers and chillies (same reasons as tomatoes)
- Cucumbers and gourds (high potassium demand during fruiting)
- Beans and legumes (benefit from the calcium content)
- Roses and flowering plants (potassium boosts bloom production)
Medium priority — occasional application works well:
- Leafy greens (spinach, lettuce, methi) — benefit from magnesium for chlorophyll
- Herbs (basil, coriander, mint) — liquid fertilizer once a fortnight keeps them bushy
- Eggplant (brinjal) — responds well to potassium during flowering
Lower priority:
- Root vegetables like carrots and radishes — they prefer lower potassium during root development; too much can cause forked roots
- Cacti and succulents — they don’t need rich feeding; less is more
Common Mistakes to Avoid
Over the months I’ve been doing this, I’ve made a few errors worth mentioning so you don’t repeat them.
Adding too much at once. More is not always better. One or two generous applications of liquid fertilizer per week is enough. Overdoing it — especially the fermented liquid — can push soil pH in directions your plants don’t like. Watch your plants and adjust.
Not diluting the liquid fertilizer. The undiluted version is concentrated. Applying it straight to the soil around sensitive plants can cause nutrient burn — brown leaf edges, wilting, stress. Always dilute 1:5 before applying.
Using rind from treated watermelons near edible plants. If your watermelon has been conventionally grown (and most supermarket watermelons have), the outer skin may have pesticide residue. This is mainly a concern with the green outer rind. The white inner part (the bulk of what you’re using) is largely fine, but if you want to be cautious, use organically grown watermelon, or restrict the outer green peel to non-edible ornamental plants.
Expecting overnight results. This is organic nutrition, not synthetic fast-release fertilizer. The first couple of applications might show subtle changes. By week three or four, the improvement is usually obvious. Give it time.
The Bigger Picture
Last summer, I tracked how many watermelons my family went through between May and August. The answer was fourteen. Fourteen watermelons, each with hundreds of grams of peel that would previously have gone straight to the garbage bin.
This year, not a single piece of that rind was wasted. It went into pots, into the compost bin, into jars of fermenting liquid fertilizer, into a batch of dried peel powder still sitting in my kitchen cupboard.
My tomato harvest this year was the best I’ve had in four years of balcony gardening. My pepper plants are currently holding more fruit than I know what to do with. My basil is so lush it borders on embarrassing.
Is that entirely because of watermelon peel fertilizer? Probably not — there were other changes I made this season too. But I know for certain it played a role. The nutrients are real. The results are visible.
And the cost? Zero. These were nutrients I was throwing in the bin every single time.
That’s the thing about sustainable living that nobody tells you clearly enough: it’s not always about sacrifice or spending more. Sometimes it’s about paying attention to what you already have — and realising the thing you were treating as trash is actually exactly what your garden needs.
Your watermelon peel is waiting. Don’t throw it away.
FAQs
Have you tried using kitchen scraps as plant fertilizer? I’d love to hear what’s worked for you — drop your experience in the comments below.